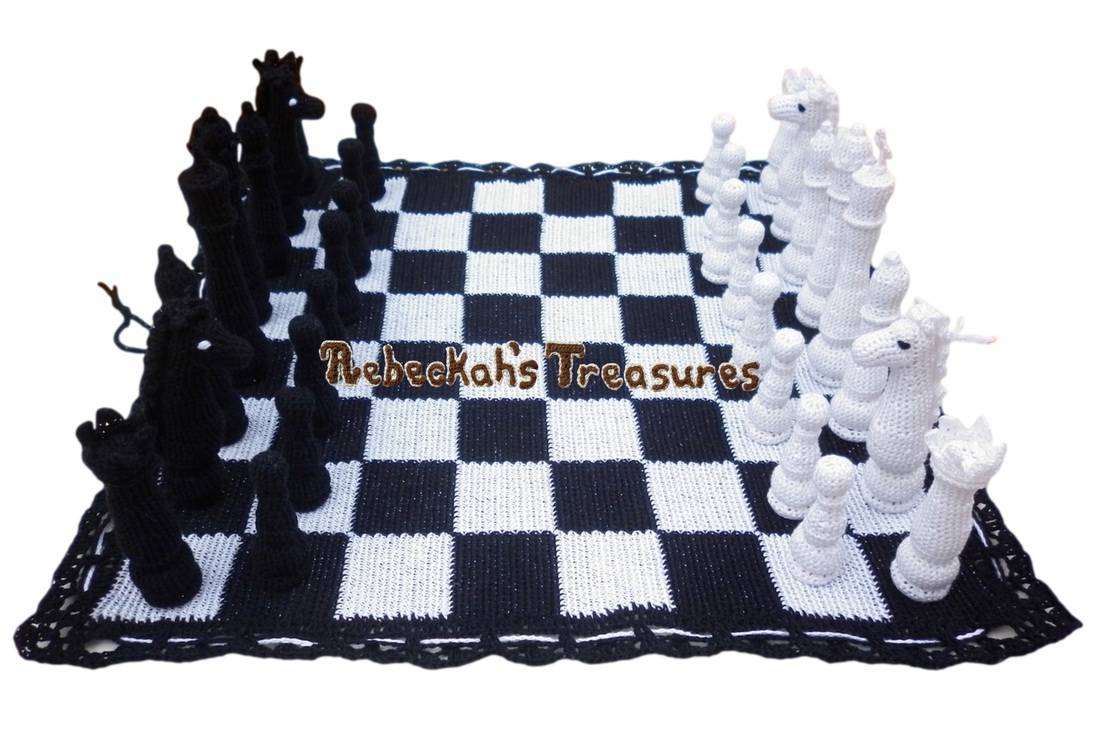
 My crochet chess set pattern is now available to purchase as an instant PDF download in Rebeckah's Treasures Crochet Pattern Store for only $15.00 USD. Instructions include how to make each of the chess pieces pictured above, and how to make the chess board that converts into a bag. To go directly to the listing, see Crochet Chess Set Pattern. To see more pictures of this set that I crocheted for my Pappa see Crochet Chess Set.
To see the original inspiration for this set, see Crochet Chess Pieces.
Comments
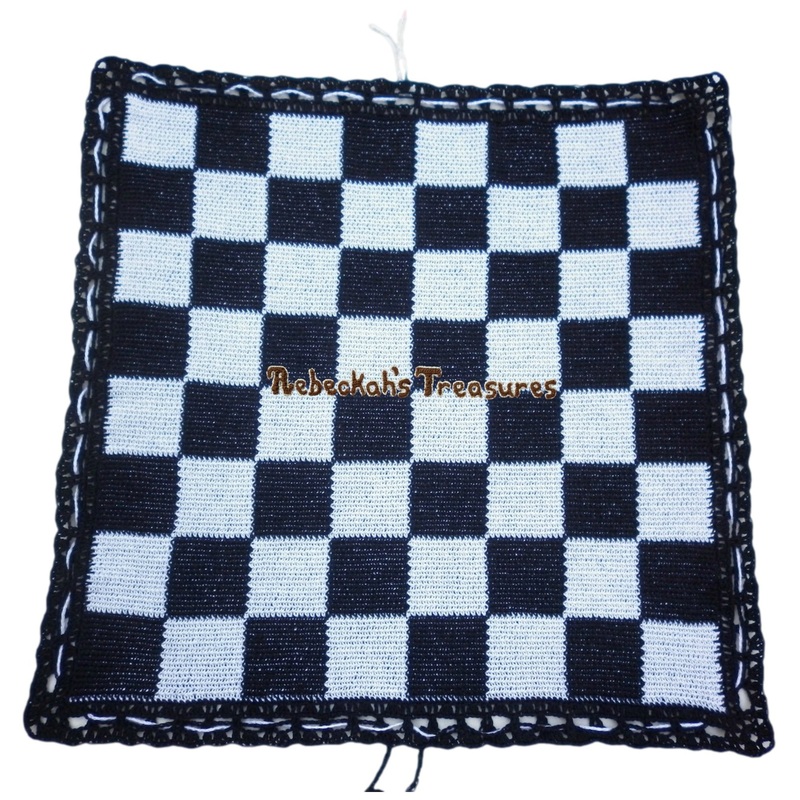
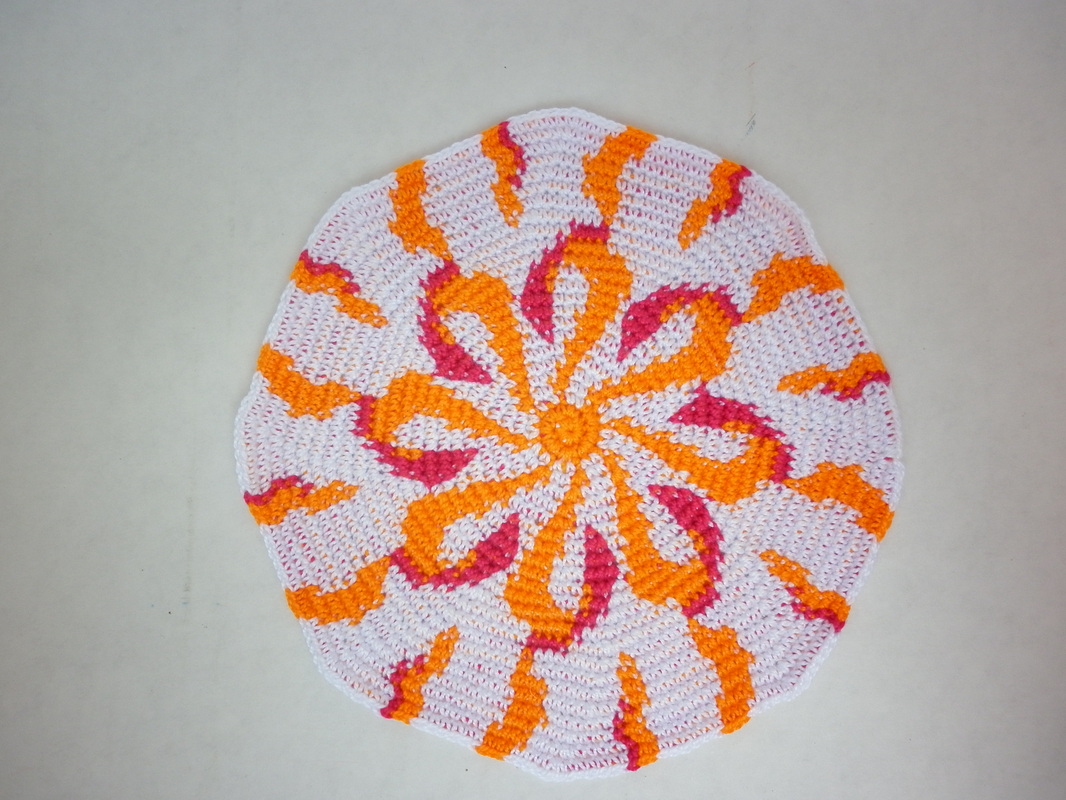 I was playing around with tapestry crochet. This time I thought I would try tapestry crochet in the round. I was meaning to make it larger, but I wanted to used the yarn for something else. So I fastened off and it became a small doily/coaster.
To see other tapestry crochet creations, check out Tapestry Crochet Shoulder Bags, Tapestry Crochet Top, or Crochet Chess Set.
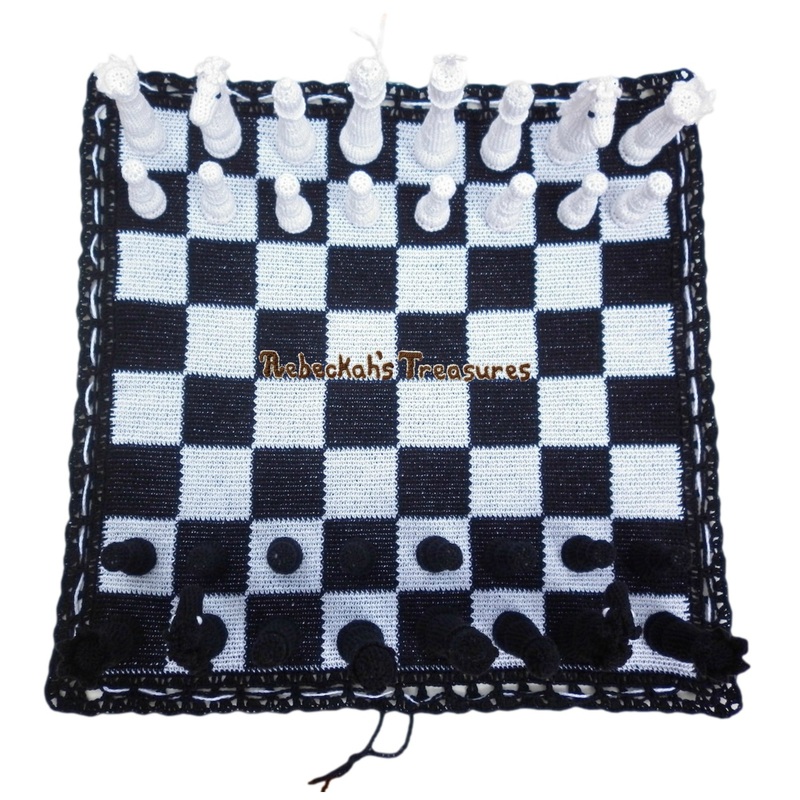
Each piece is worked amigurumi style from bottom to top. The queens, bishops and pawns are worked continuously, whilst the king, castle/rook, and knight are not. The pawns have pennies for bases, while the rest of the pieces have nickels for bases. The board is Tapestry Crochet, and it doubles as a drawstring bag to store the pieces. When I started, I was still uncertain how I wanted to go about crocheting the board. I knew that I wanted it to convert into a draw string bag, and I knew how big it needed to be. I played around with several ideas. Should I make granny squares and sew them together? Should I single crochet squares and sew them together? Or, should I use one of my favourite techniques and make it all one piece even though it takes lots of time to do? I finally decided that I would do my favourite technique even though it would take more time. As you can see, it turned out great! And most important, my Pappa loves it! Though I think is more because I made it for him then anything else. Wink, wink. This is the first time I have made something for my Pappa that I can remember. So it made it even more special, or at least I think so.
Continue Reading to see more pictures of the chess pieces, and how to store it.
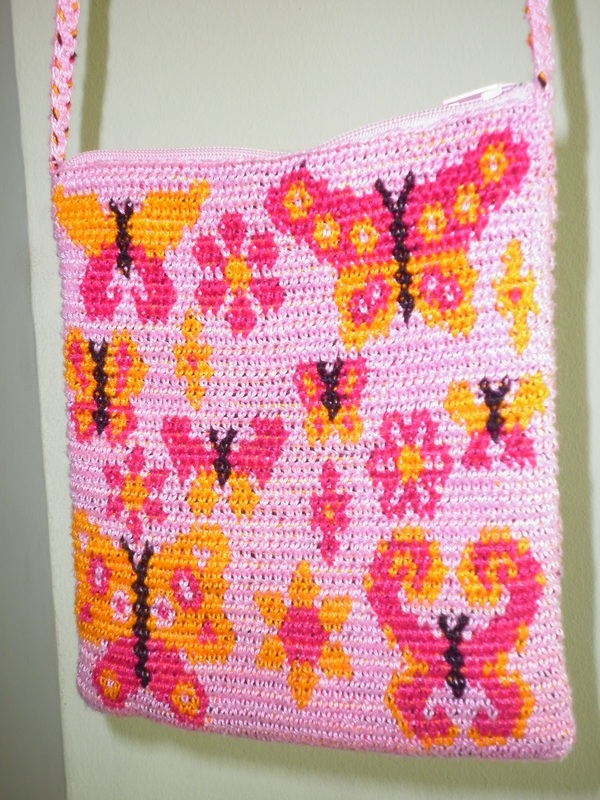
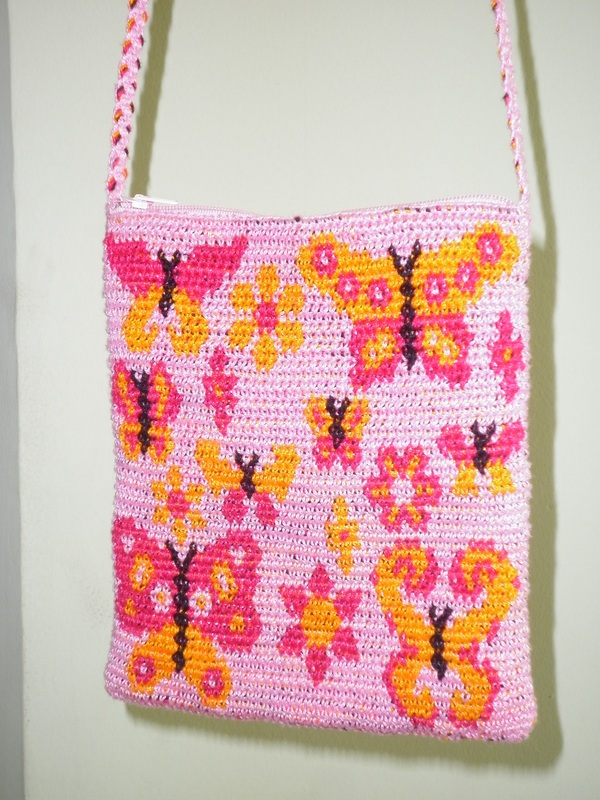
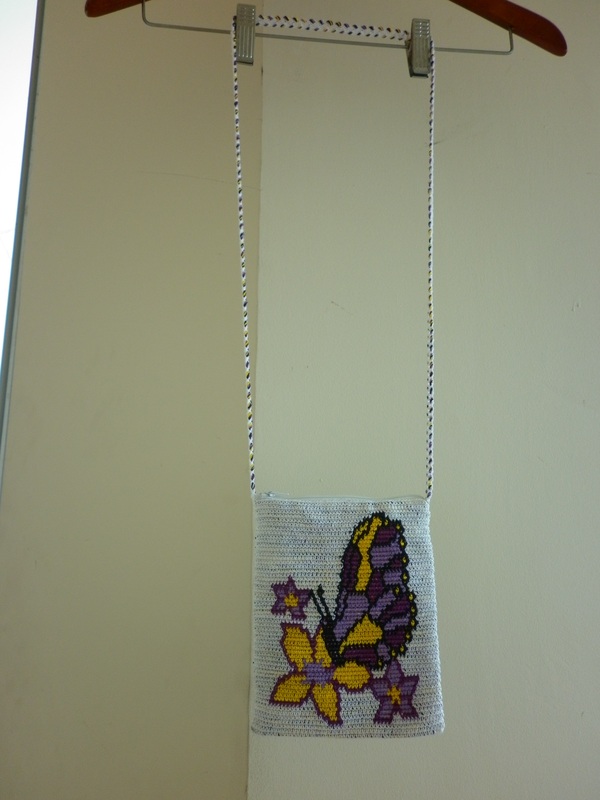
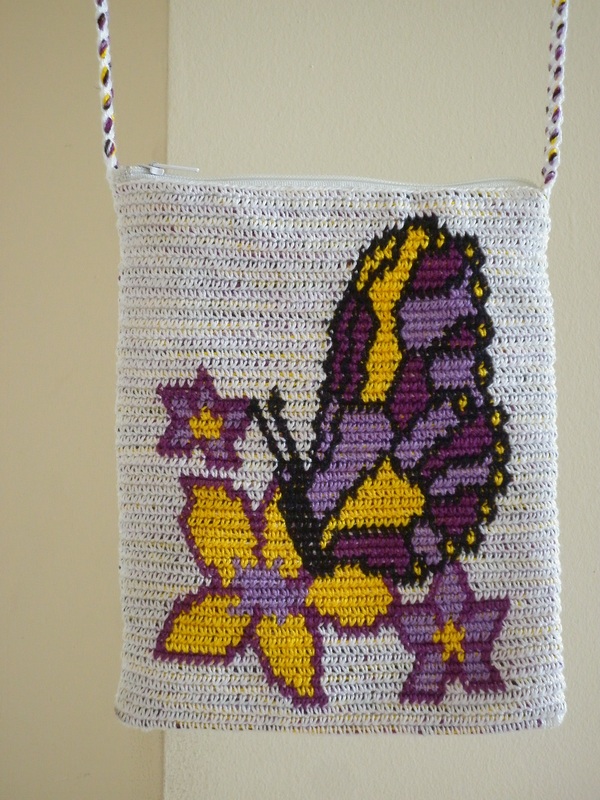
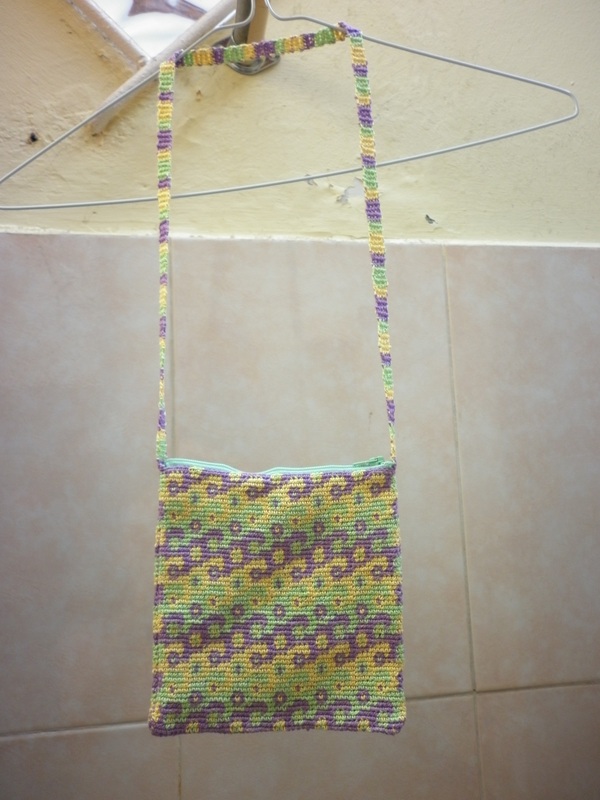
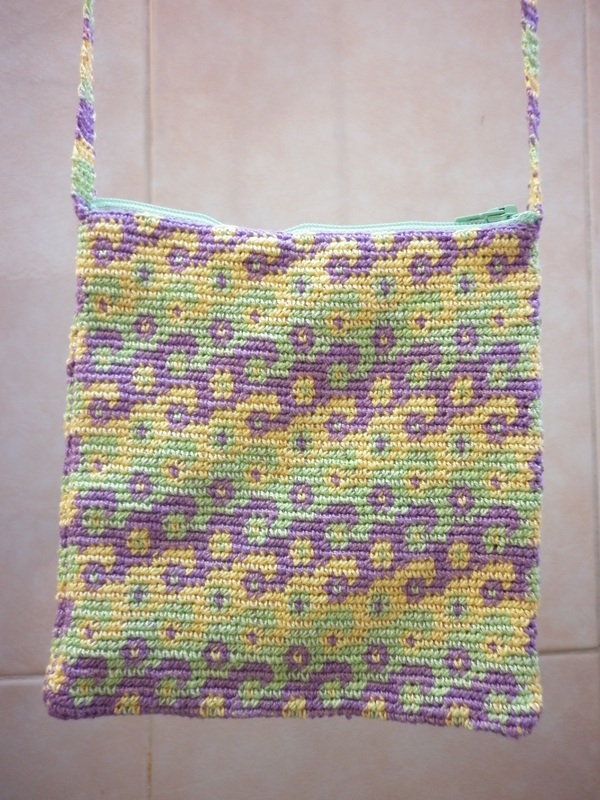
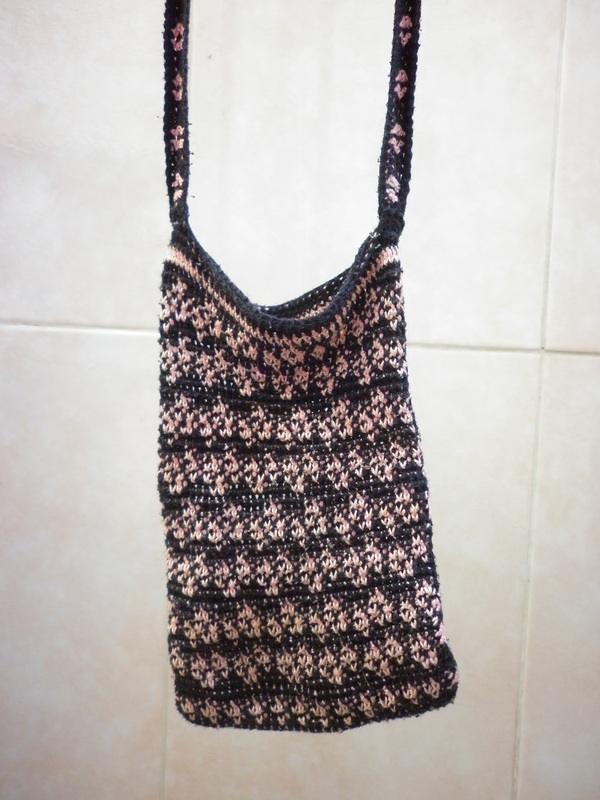
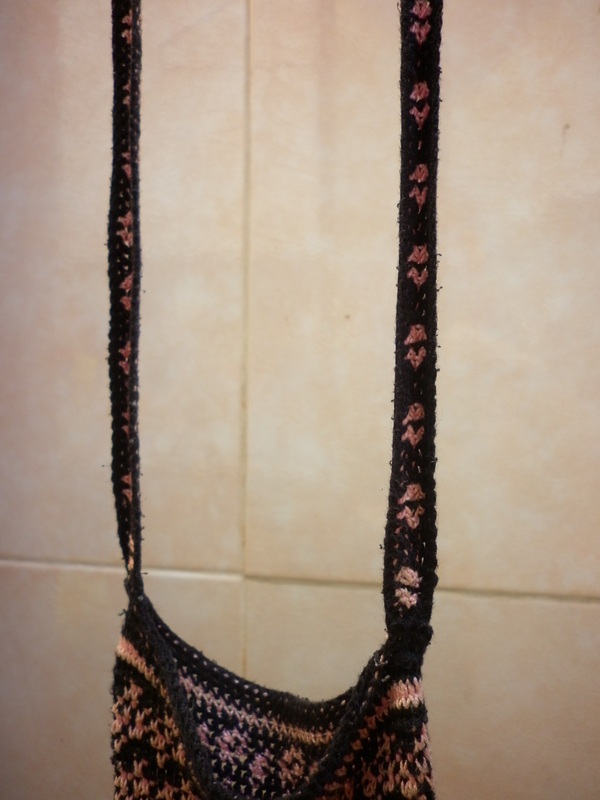
After I made My First Tapestry Crochet Shoulder Bag in 2011, I wanted to make more of them, but with so many other projects on the go... I had to wait. When I made a Tapestry Crochet Top for my brother at the end of last year as a birthday/christmas present, I was able to perfect the techique, and I was able to make these bags pictured below with greater ease. As you will see, the number of colours used effects how tall the bag is in the end. Each bag is about 6"-6.5" wide/high.
The patterns for each of these tapestry crochet shoulder bags can purchased right here through Rebeckah's Treasures' Crochet Pattern Store. Direct listing for the each one is Tapestry Crochet Shoulder Bags.
Want to design your own bag? Then check out Design Your Own Tapestry Crochet Bag for the Free how to and graph. 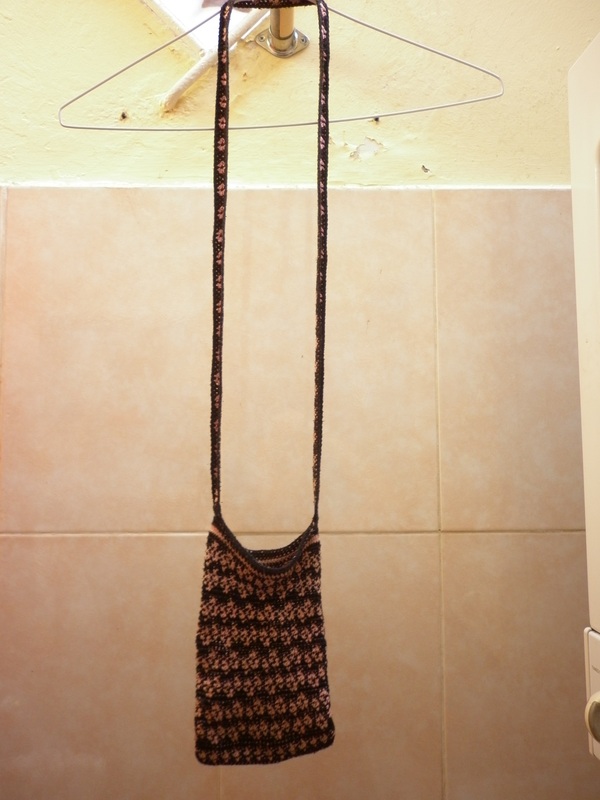 Tapestry Crochet Shoulder Bag Tapestry Crochet Shoulder Bag Tapestry Crochet is a clever technique that allows you, the designer, to create your own fabric - so to speak anyway. This works by method of carrying yarn as you sc, so that you are working with 2 or more different colours in the same project without having to cut the yarns whenever you want to change the colour. You can carry as many yarns as you like. The fewer you carry the easier it is. If you are going to work in rounds, the only thing you would have to learn is how to carry the yarn. If, however, you are going to create flat pieces, not only do you have to learn how to carry the yarn, you have to learn to single crochet (sc) backwards! Or you could learn how to sc with your opposite hand (I tried to attempt it, but it was way too hard for me to get my left hand to do what my right hand has been doing for years!) Also, depending on how you sc, you may have to train yourself to loop the yarn in a different way. Now it is not really necessary, but it affects the slanting of the deign. I tried to teach my mom. Though she could do it, it was just too time-consuming for her liking. Anyways, back to this project. This is my first attempt at Tapestry Crochet. I carried 1 yarn, which means I was working with 2 yarn colours at the same time. It took a little practice, but I was able to catch on really quickly. For the main portion of the bag I working in rounds, and the strap was worked as a flat piece. I only just recently took pictures of this bag completed, but luckily, I had snapped a quick shot of the bag as I was working on it. Yeah! I have since changed the way I make the shoulder bags because I found with this one that working in rounds makes the bag stretch down too much, and working the strap by the full length causes the strap to curl. Check out my other post on Tapestry Crochet Shoulder Bags, or check out the Tapestry Crochet Top I made for my brother to see how I have perfected this technique.
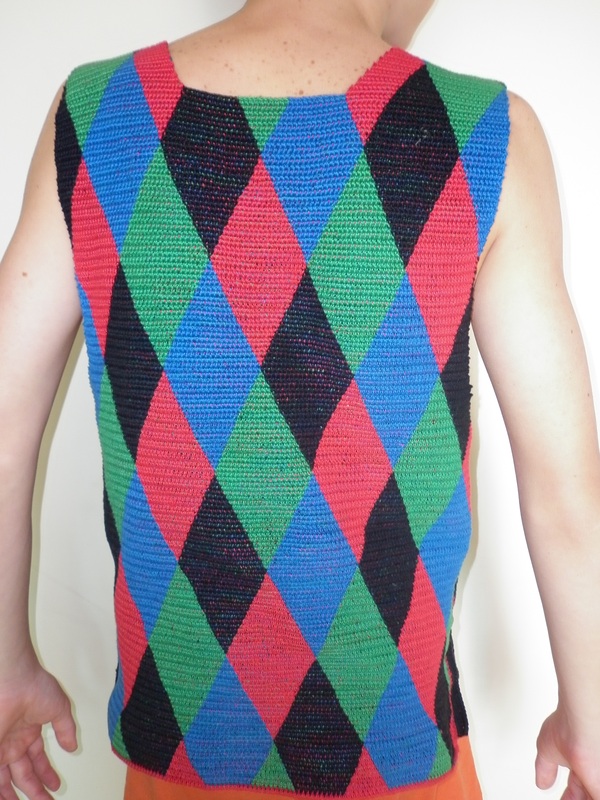
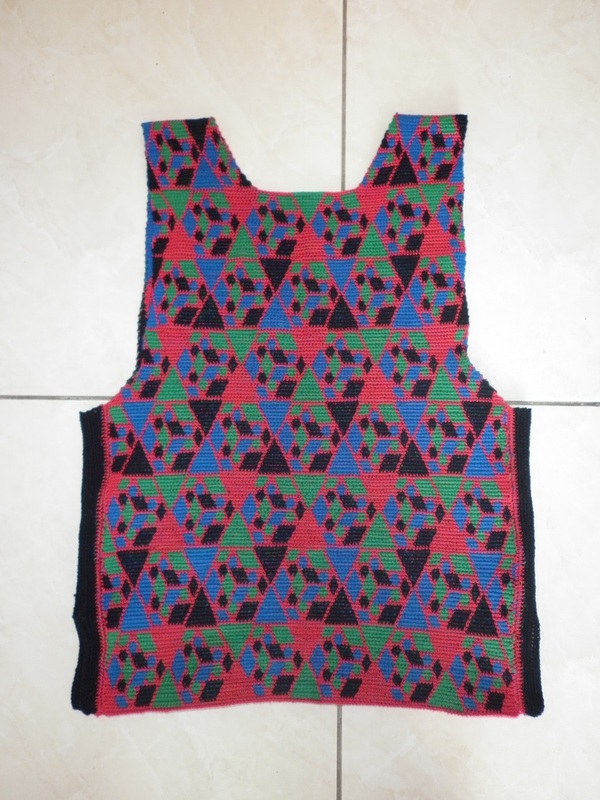
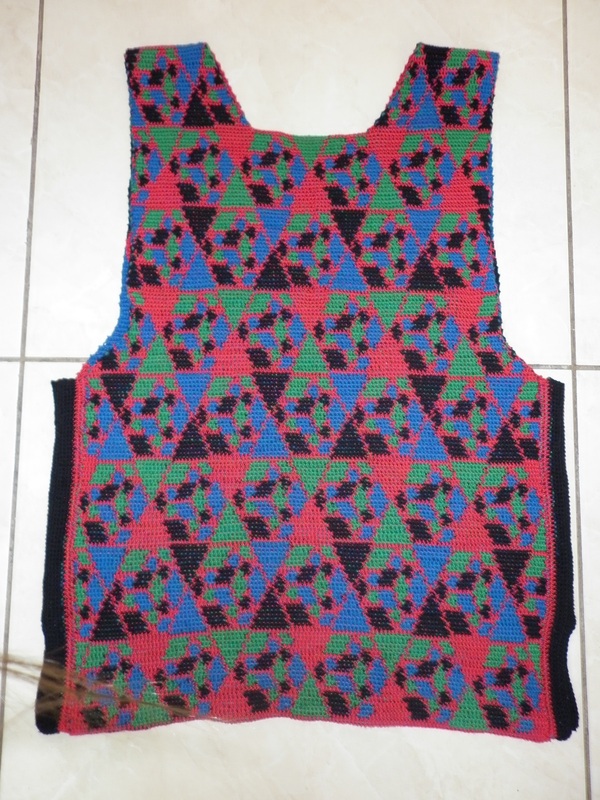
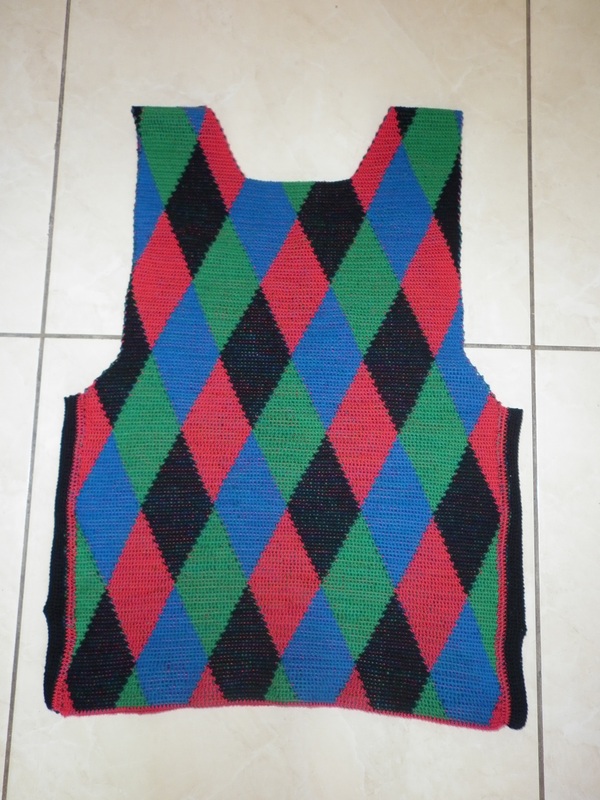
 Side View Side View Tapestry Crochet is so cool because you get to design your own fabric! The only this is that it can take a long time to complete because you are working with sc (single crochet), and in this case, a 2.1mm steel hook and crochet cotton yarn. I made this top for my brother as a Birthday/Christmas Present in 2011. It took me 3.5 weeks to complete. I designed this using special tapestry flat graph paper, and I used paintbrush to colour-code my graph. What is so cool about this top is there are many different views or ways to wear it, it is completely reversible and it can be worn inside-out! There are the two different designs, and each one has a right and wrong side. Either way it is worn, looks great! The more detailed side took longer to make than the diamond side, and it was done first. Though if you look carefully, you can see the diamond side in the more detailed side.
Check out My First Tapestry Crochet Bag, or Tapestry Crochet Shoulder Bags to see more things I have made with this technique!
|


Hello, my name is Rebeckah.
I hope my crochet inspires you to create your very own treasures! Learn more about me... Categories
All
Archives
October 2021
© 2012-2021 Rebeckah Ferger
All rights reserved. Disclaimer: This website makes use of sponsored and/or affiliate links. Please see this page for more information.
|
- Home
-
-
- Special Offers
- New Releases
- Accessory Crochet Patterns
- Afghan Square Crochet Patterns
- Amigurumi Crochet Patterns
- Applique Crochet Patterns
- Baby Crochet Patterns
- Dolly Crochet Patterns
- Fashion Doll Crochet Patterns
- Free Downloads
- Holiday Crochet Patterns
- Tapestry Crochet Patterns
- Under the Sea Crochet Patterns
- Wedding Crochet Patterns
- Disclaimer and FAQs
-
-
- Free Crochet Patterns
- New Free Releases
- Free Accessory Crochet Patterns
- Free Afghan Square Crochet Patterns
- Free Amigurumi Crochet Patterns
- Free Applique Crochet Patterns
- Free Baby Crochet Patterns
- Free Dolly Crochet Patterns
- Free Fashion Doll Crochet Patterns
- Free Guest Crochet Patterns
- Free Holiday Crochet Patterns
- Free Tapestry Crochet Patterns
- Free Under the Sea Crochet Patterns
- Free Wedding Crochet Patterns
- Free Crochet Patterns Coming Soon
Welcome Visitor! I hope you enjoy my treasures.


 RSS Feed
